

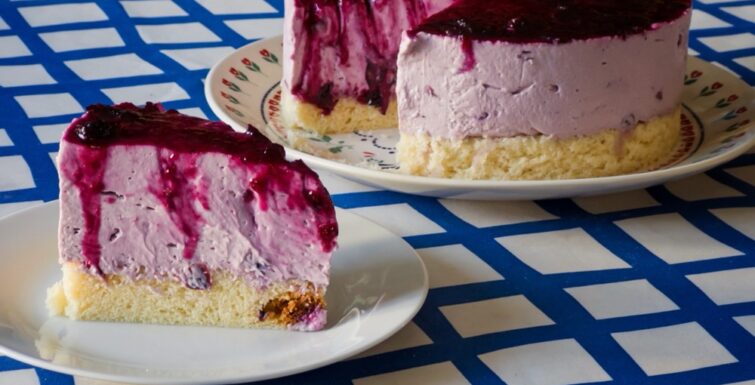
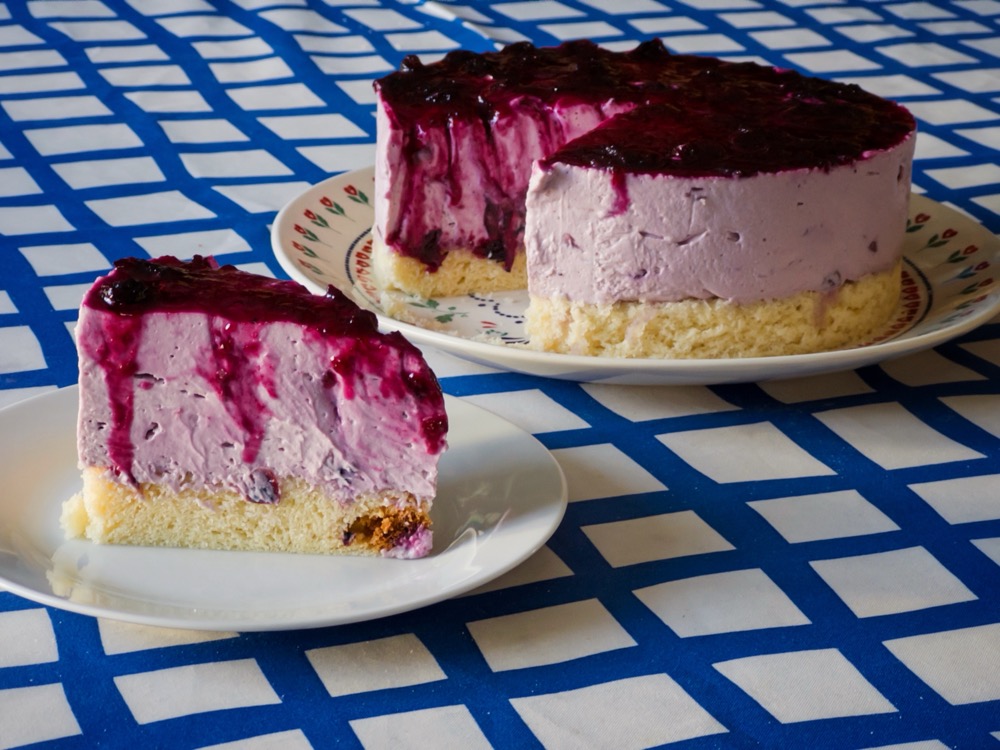
It’s been a while since the last time I wrote a recipe in this blog, and I hadn’t originally intended to write a post featuring this recipe, so I didn’t take any photos whilst making it. However, I’ve been asked to share it, though all I have to go on are my own words, so here it is ;)
Like many of you, I love cheesecake. New York-style cheesecake is one of my favourites. This time, however, I wanted to make a cake that didn’t require an oven and to add some fresh blueberries that I had in the fridge.
Ingredients
for the blueberry syrup
- 500g blueberries
- 500g white sugar
- a splash of lemon juice
for the sponge base
- 2 medium eggs
- 150g white sugar
- 150g plain flour
- 7g baking powder
- a pinch of salt
- 85g yoghurt
- 80g sunflower oil
for the filling
- 600g cream cheese
- 300ml double cream
- 3 tablespoons sugar
- 125ml milk
- 300g blueberry syrup, plus some extra for the topping
- 8g gelatine leaves (or 1 teaspoon agar-agar)
Method
Blueberry syrup
The truth is, you don’t actually need 500 g of blueberries for this cake. But I had that much and preferred to use it all up, pouring any leftover blueberry syrup over pancakes or toast. Please feel free to adjust the quantities to suit your preferences or what you have available, but make sure you stick to the 1:1 ratio of blueberries to sugar.
I don’t go to much trouble to make this syrup. I simply tip the blueberries and sugar into a medium saucepan – yes, without adding any water or other liquid – and place the pan over a medium-low heat. After a few minutes, when the blueberries start to cook, I mash them with a fork to release their juice and start to stir and mix with the sugar. I then add a splash of lemon juice and leave it to cook for about another five minutes, stirring often until the blueberries are very soft.
Once you have made the syrup, leave it to cool before storing it in jars. Since it needs to be cold when you use it on the cake, it’s best to make it in advance – the day before, for example.
Sponge base
For the base, I didn’t want to make the usual biscuit base; I fancied a sponge base instead. And as I’d decided not to use the oven for this recipe, I used the microwave instead.
I needed a container that could be used in the microwave, so I looked around the house and found a round Tupperware container with a diameter of about 23 cm, which was perfect for the sponge base. And I lined it with baking paper ready for the sponge mixture.
To make the sponge mixture, beat the eggs and sugar together until the mixture is pale and has doubled in volume.
Meanwhile, mix the flour, baking powder and a pinch of salt together in a separate bowl.
Alternating between the flour mixture and the yoghurt, add them to the egg and sugar mixture in batches, taking care not to reduce the volume and ensuring everything is well mixed and free of lumps.
Finally, add the oil and mix until it is thoroughly incorporated.
Once you have the sponge mixture, pour it into the Tupperware container – which you will have lined with baking paper beforehand – and cook it in the microwave. It took me 5 minutes in an 800W microwave, but it may take a different amount of time in yours.
Remove the sponge cake from the container and leave it to cool on a wire rack.
Once cooled, cut off the top of the sponge cake with a knife to make it completely flat.
Cheesecake batter
Now it’s time for the cheesecake batter. But first, let’s prepare the mould into which we will pour it.
We could use a springform cake tin and put the sponge cake we prepared in the previous step inside it. Instead, I used an adjustable cake ring mould like the ones they used to sell at IKEA or Tescoma. I adjusted the cake ring to a slightly smaller diameter than that of the sponge cake and inserted it into the sponge cake.
Next, beat the cream cheese and blueberry syrup together.
Separately, whip the double cream with the sugar.
Now, fold the whipped cream into the cream cheese and blueberry mixture using a folding motion to prevent the whipped cream from losing its volume.
To set the cheesecake batter, we can either use gelatine leaves or agar-agar:
- If using gelatine leaves, soak them in ice-cold water for 10 minutes. Then heat the milk and dissolve the soaked gelatine leaves in it.
- Alternatively, if using agar-agar, dissolve it in the milk and heat gently, stirring until completely dissolved. Once the mixture comes to the boil, simmer for a few minutes before cooling.
Once our gelling agent is ready, we will mix it into the mixture of cheese, cream and blueberries that we prepared earlier, before pouring it into the pre-prepared mould.
Leave it to set and rest in the fridge overnight.
Removing from the mould and finishing touches
Once the cheesecake has set, take it out of the fridge and coat it with a thin layer of blueberry syrup before removing it from the mould.
Run a knife around the edge of the cheesecake, then remove the cake ring mould.
Transfer the cheesecake to a serving plate and remove any remaining baking paper.
Cut the cake and enjoy! 😃